
Need a simple lower back release?
Eka Pada Apanasana (one-legged, knee-to-chest pose) and Apanasana (both legs, wind-relieving pose – see the next post in my feed) help relax the lower back. These poses lengthen the erector spinae, gluteus maximus and hamstring muscles. They also relieve stiffness and/or pain due to vertebral compression, misalignment or spasm of the low back.
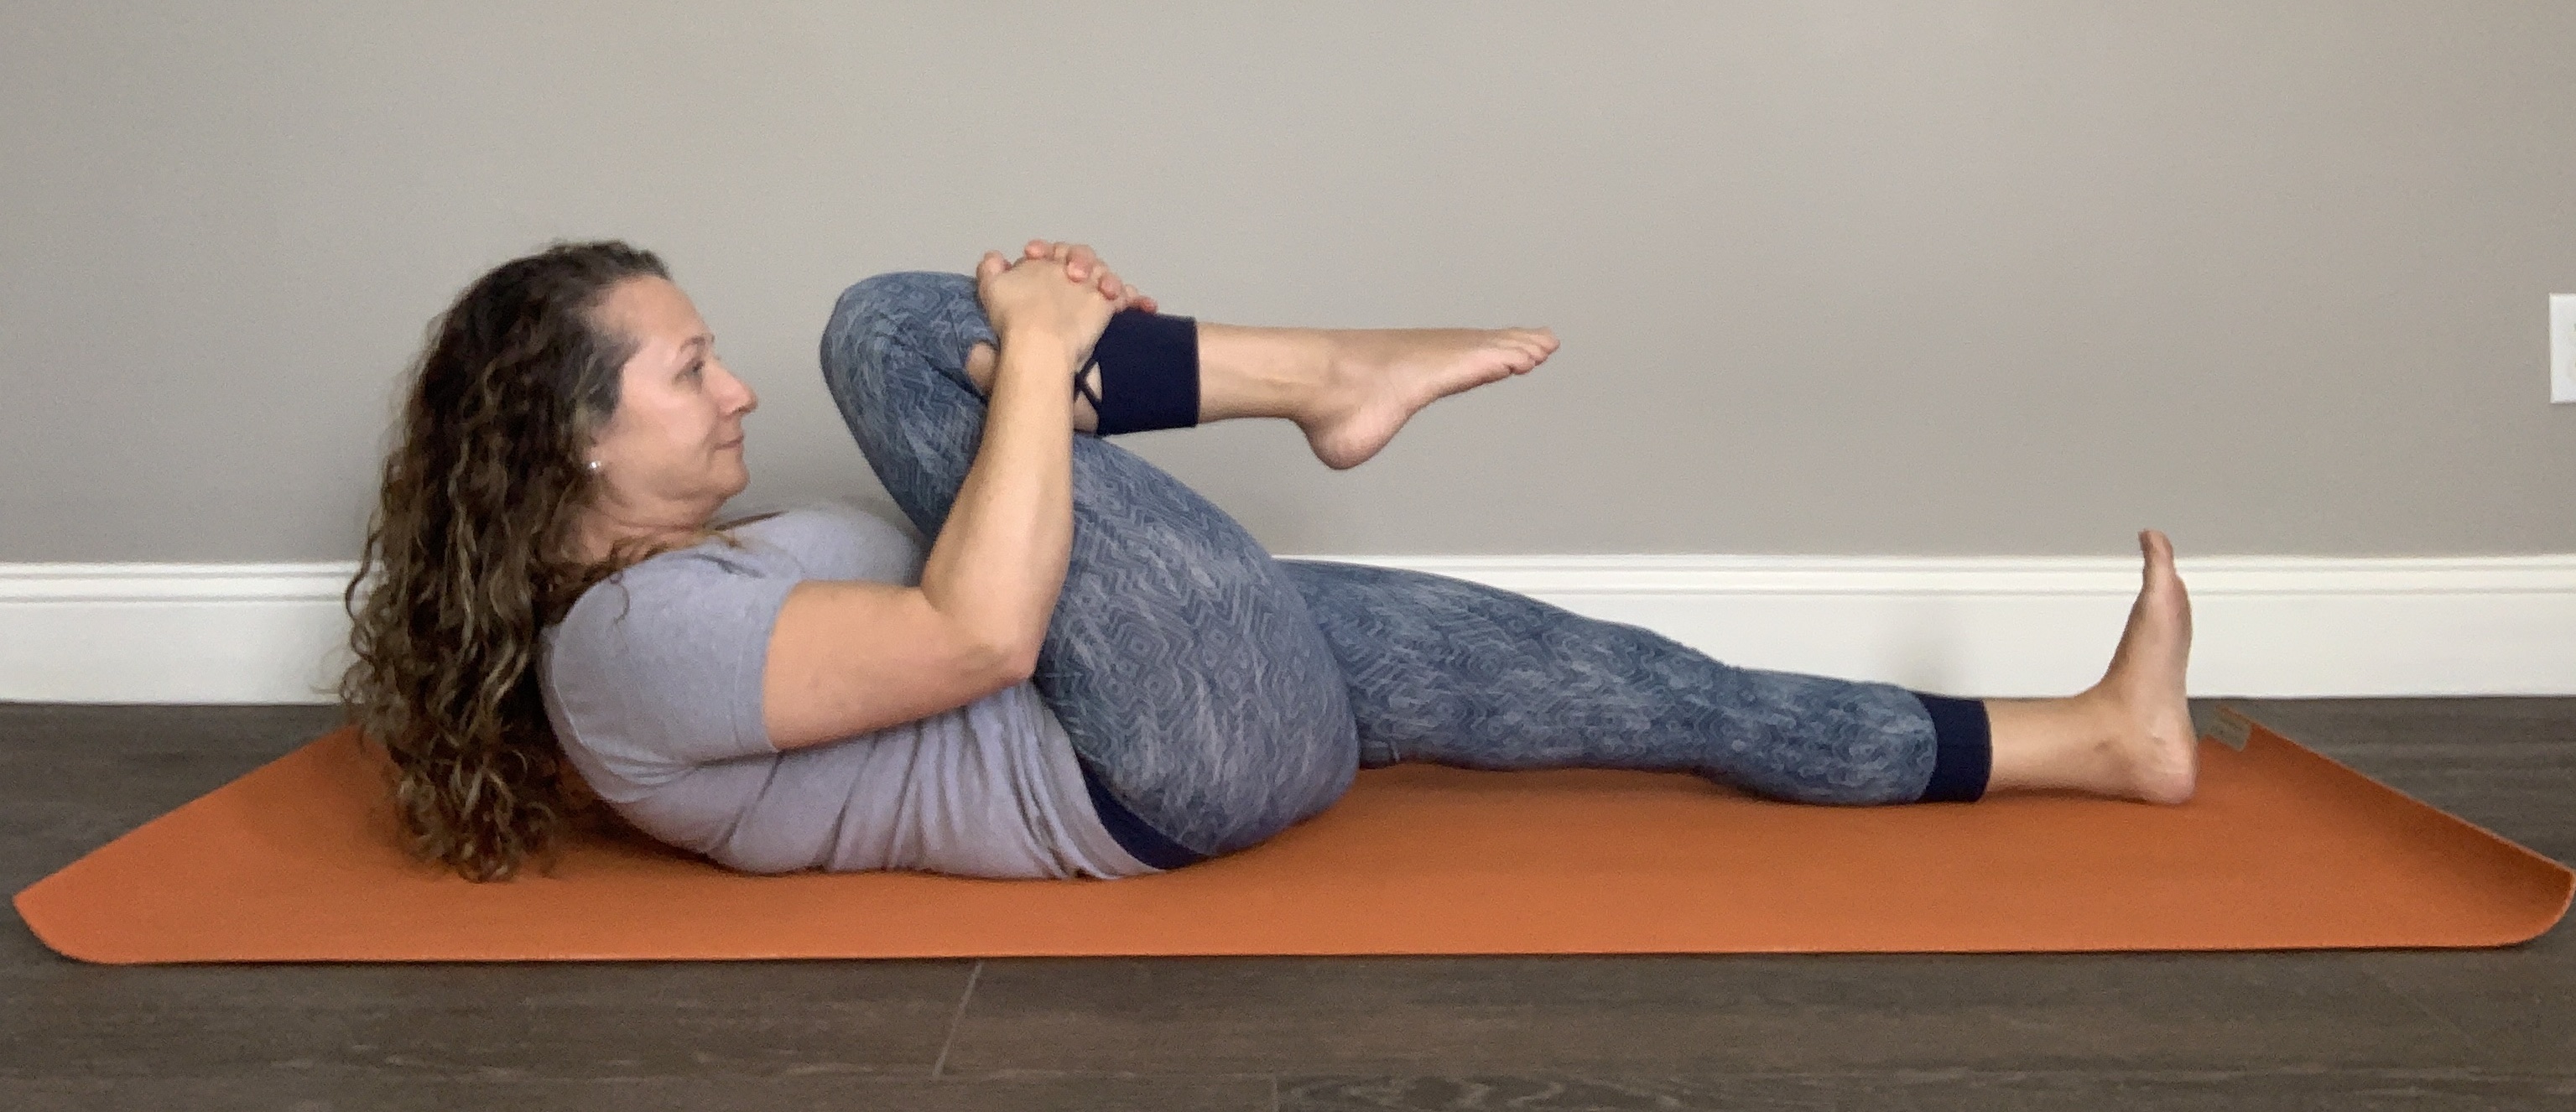
One-legged, Knee-to-chest Pose
(Eka Pada Apanasana)

Lie on your back with your palms down and legs extended.
On an exhale, bend one of your legs and draw it toward your chest, holding your shin just below your knee. If you have knee problems, hold the back of your thigh instead of shin.
With your other leg extended, flex your ankle so that your toes point up towards the ceiling.
Stay in the posture for six to eight breaths.
Repeat the steps with your other leg.
Go Deeper
If you’d like to explore going deeper, roll your shoulders off the ground so that your head approximates the bent knee.
Stay for a few breaths and then release.
Repeat the steps with your other leg.
Important Considerations for Eka Pada Apanasana
This pose should be done in a relaxed, easy way, as though the movement of your breath is directing the movement of your legs toward and away from you.
Remember, this pose isn’t an arm exercise, so just gently hold your leg and breathe into your lower back, and relax.
If keeping your extended leg flexed is too difficult, bend that leg and keep that foot flat on the floor.
Have patience. Don’t force anything. It’s about the journey not the destination.
Wind-relieving Pose
Once you feel some relief in your back from the Eka Pada Apanasana (one-legged pose), explore Apanasana (wind-relieving pose). For those who can comfortably do apanasana, it’s a gentle way to bring movement to the lower back, reducing chronic tension.

Draw your knees up towards your chest and clasp your shins with your hands.
If this bothers your knees, place your hands under your thighs and draw your knees towards your chest.
The sacrum should just begin to curl away from the floor toward the end of the exhale.
If the lower back is pulling up away from the floor, you are pulling your legs too far in.
Stay for a few breaths and then release.
Go Deeper

If you’d like to explore going deeper, roll your shoulders off the ground so that your head approximates your knees.
Stay for a few breaths and then release.
Important Considerations for Apanasana
Only bring the knees in as far as comfortable with the sacrum just beginning to curl away from the floor.
There should be no strain in this posture. If this pose is too uncomfortable just bring your legs close enough to put your hands on your knees or stick with the one-legged version of the pose.
During pregnancy, or for students with a larger midsection or who experience discomfort in the inguinal region (the space between the top of the thigh and pelvis), bring the legs wider, keeping knees and feet about the same distance apart.
Let me see your Apanasana by tagging me on Instagram @yogafordentist or posting in our private Facebook Group – Yoga for Dentists!
Click here to receive a FREE End of Workday Meditation!
Consider subscribing to this website (it’s free) and share it with your dental friends. Helping other dentists live better lives is a great way to give back to the dental community!
